Category Archives: Photography Fundamentals

Why Full Frame DSLRs Are Called 35 mm

“Full frame” DSLRs have the same image size as the most popular film size, which was called 35 mm. Where does “35 mm” come from? The image frame size is 24 mm x 36 mm, so it’s not that. Its diagonal is 43.3 mm, so it’s not that, either. Come to find out, 35 mm is the width of the film strip to the outside of the sprocket holes, as shown in this photograph.Since all lenses and image sizes are the same between 35 mm film and full frame DSLR cameras, the 35 mm equivalent name is used for full frame DSLRs, even though nothing measures 35 mm in their image frames.

While the “35 mm” designation has no direct relevance to the digital sensor size, it is still useful when referring to the focal length of lens. The diagonal, horizontal, and vertical angles of view of a given lens are the same with a full-frame digital sensor as they are on a 35 mm film camera. For example, the ZEISS Milvus 50 mm f/2 macro lens has a horizontal angle of view of 38 degrees on a full-frame digital sensor just as it does on a 35 mm film camera. The cropped sensor equivalent values will be the subject of another post.

©2018 Tom Vadnais Photography. All Rights Reserved.

ZEISS Milvus 15 mm, 18 mm, 21 mm, and 25 mm Lenses

ZEISS makes four ultra-wide Milvus lenses: 2.8/15 mm, 2.8/18 mm, 2.8/21 mm, and 1.4/25 mm. Can there be an appreciable difference with only a three or four millimeter focal length change between lenses? After all, if you have a 100-400 mm zoom lens, you probably couldn’t even notice the difference between 344 and 348 mm focal lengths. But you’ll see that just a couple millimeters makes quite a difference with very wide angle lenses.

I made this series of photographs on a sunny day with very contrasty light to show how the four lenses handle very difficult lighting conditions. Polarizing filters somewhat tempered the extreme contrasts. I used Heliopan High-Transmission polarizers for the 18, 21, and 25 mm lenses, and a ZEISS polarizer for the 15 mm lens. Before I made these JPEGs from the raw images, I reduced highlights by 30 in Adobe Camera Raw (ACR) to make sure the clouds wouldn’t blow out when converted. Otherwise, these raw images were straight from the camera. All were made at f/8 on a full-frame Nikon D850 DSLR.

Note how much more of the trees you can see at both edges of the frame with the wider lenses. Also, notice how City Hall seems to shrink and recede as the lenses get wider.

Roswell, GA, City Hall (ZEISS Milvus 1.4/25 mm lens on Nikon D850.)

Roswell, GA, City Hall (ZEISS Milvus 2.8/21 mm lens on Nikon D850.)

Roswell, GA, City Hall (ZEISS Milvus 2.8/18 mm lens on Nikon D850.)

Roswell, GA, City Hall (ZEISS Milvus 2.8/15 mm lens on Nikon D850.)

Here are the diagonal/horizontal/vertical angles of view for these four lenses:

2.8/15  110°/100°/76°

2.8/18  100°/89°/67°

2.8/21  90°/81°/59°

1.4/25  81°/71°/50°

Comparing the chart to the photographs shows that for extreme wide angle lenses, the field of view changes noticeably for every 10° diagonal angle of view. So how do you decide which lens(es) to get?

All four lenses are spectacularly sharp, and all exhibit the famous ZEISS micro-contrast and consistent color. They also all show little distortion with the appropriate Lens Correction selection in ACR. (Note: most recent DSLRs have in-camera lens corrections for JPEGs. Raw image lens corrections are handled in raw conversion software, such as ACR and Lightroom.)

As you can see, the wider the lens, the larger the foreground and the smaller the subject become. (Of course this is true regardless of the brand of the lenses.) Look at how much more of the trees at either edge of the image are visible with wider focal lengths. But even though there are significant differences in the images, unless you do a lot of very wide angle shooting (think architecture and interiors), it is unlikely you’ll need all four of these lenses.

If you primarily shoot landscapes, including Milky Way photos at night, you might find the 15 and 21 mm lenses the best combination. For large scale and intimate landscapes, the 18 and 25 mm lens pair might be most useful. If you’re just venturing into wide-angle shooting, the 25 mm lens will likely be the most versatile. It’s also one of the sharpest and most desirable lenses ever made. It’s one you’ll keep for a lifetime.

As always, it is best to try these out for yourselves. I highly recommend renting them individually or in groups before purchasing any of them.

©2018 Tom Vadnais Photography. All Rights Reserved.

A Dark Cover-up

When I travel for a work or a personal photography trip, I either drive my 4Runner TRD Pro or rent an SUV so I can easily access my gear in the field. Years ago, my friend and mentor Bruce Dale suggested a cheap, easy way to keep prying eyes from cargo and luggage in the back. It’s a black flat bed sheet. I bought two of them at Walmart; one for my 4Runner and one to keep packed in my travel bag. They’ve become the black sheets of my family. (Sorry, couldn’t resist.)

Black Sheet Over Gear

Black Sheet Over Gear

If I’m going to be hiking any distance when I get to my shooting location, I try not to keep valuables in my vehicle, if possible. But I’ll still cover extra jackets, water, snacks, or empty camera bags or luggage. I find the black sheet most useful when going to and from my shooting location, the airport, meals, the hotel, and when stopping at any store or gas station. It’s cheap, simple deterrence. I even use it day-to-day when I’m at home.

Thom Hogan’s Nikon Complete Guides

Late summer 2001, I swapped my beloved Nikon F5 film camera for a Nikon D1x. While I had been dabbling in digital using a Nikon Coolpix 990 compact digital camera, the D1x was my first digital SLR. I had been keeping up with the Nikon DSLR developments through Thom Hogan’s website, and decided it was time to make the switch.

Of course, the fundamentals of using a camera (aperture, shutter speed, focusing, etc.) were the same between film and digital. But digital brought so many other tools and techniques to learn (white balance, instant review, histograms, blinking highlight warnings, etc.), I decided to take a workshop with Thom so I could start to master using a DSLR. It was a wise choice, as I came away from that workshop with a good working knowledge of my new camera.

Well, Thom didn’t stop with workshops. Since the earliest days of Nikon DSLRs, Thom has written a series of incomparable users manuals, which he justly calls “Complete Guides”. I download the fully searchable PDF e-books, then read them (and refer to them) on my iPad. They thoroughly explain every button, switch, wheel, and menu item in unsurpassed detail. If that’s all they did, they would be worth the read.

But they do much more. Thom suggests specific settings, and recommends against others, based on his long-time real-world use of the cameras. But, again, he does even more than that. For each recommendation, Thom discusses how and why those settings will affect your photography. These discussions allow you to understand what each function or setting does, why it does it, and how you can best use it. If you own a Nikon DSLR, whether FX or DX, I cannot recommend Thom’s guides highly enough.

  • Even though I’ve been shooting with a pair of Nikon D810’s for over a year (and with a fairly similar D800E before that), I’ve been looking forward to his D810 book all along. Well, it’s now here. Even if you’re an experienced Nikon owner, if you own a D810 (or any other Nikon DSLR), you owe it to yourself to buy and read Thom’s Guides.

    ThomHoganNikonD810ManualCover

    Here’s a link to his D810/D810A Guide: http://www.dslrbodies.com/books/bythom-complete-guides-/nikon-d810-guide.html. Any of his guides can be accessed with the link to his home page: http://www.bythom.com/.

    ©2015 Tom Vadnais Photography

  • Digital Camera Sensor Resolution and Print Sizes

    After a presentation to the 4th annual Western North Carolina Foto Fest in Montreat, NC, in September 2013, a couple participants asked me to post my two slides showing the resolutions of digital camera sensors, and effect of resolution on print sizes.

    The first slide is reproduced here:

    Typical Image Sizes in Pixels

    Typical Image Sizes in Pixels

    As you can see, a 1.0 megapixel (mp) camera has more resolution than the old NTSC television and more than most PC displays used to have. You might be surprised that a 3.0 mp sensor has more resolution than HDTV! Even more shocking, perhaps, is that the incredible iPad with Retina display has a resolution of 2048×1536 pixels—-exactly what you could capture with a 3.0 mp camera.

    So what in the world do we need a 12 mp or 24 mp, or goodness knows, a 36 mp sensor for? That’s where the second slide comes in:

    Print Sizes at 240 dpi

    Print Sizes at 240 dpi

    This chart shows the native print sizes you can make at 240 dpi from the various digital camera sensor resolutions. (Note: I’m not suggesting that you always print at 240 dpi, but that resolution was chosen as a constant to make a comparison. Selecting the appropriate print resolution is a topic unto itself.) Continue reading

    Is It Equipment, Photographer, or Both?

    It all started innocently enough when a friend e-mailed our group of photography friends asking if he should get a Nikon D600 or D800, and why. Since most of our group happens to shoot Nikon, it was a sensible thing to ask.

    For my personal work, I currently use a D800E, and briefly owned a D600 (which is a fantastic camera, but since it’s so close in size to the D800E, I stuck with just the D800E), so I replied with what I saw were the pros and cons of each. Of course, one of the main differences is the greater resolution of the D800, and I mentioned that higher resolution might allow him to create more detailed images, depending on what he was most interested in photographing. But one of the working pros in our group (who currently shoots Canon, but I understand is in therapy for it—-just kidding) took umbrage and said it was the photographer, not the gear, and we were concentrating on all the wrong things.

    The ensuing flurry of e-mails has been a really interesting discussion, with no right or wrong, and no definitive answer. But the topic of the importance of good equipment is certainly worth thinking about for yourself. Continue reading

    Comfort Zones & Proper Equipment – Part Two

    (Note: Part One is just below this post.)

    When we left off, I discovered I didn’t have the right lenses nor the right techniques for capturing birds and critters. But that’s not the end of the story. Hence, Part Two.

    As I briefly mentioned in Part One, I also quickly discovered a geared tripod head can be next to worthless for moving subjects. My usual head is an Arca-Swiss C1 Cube, which I absolutely love. Its extreme precision results from its fine-tooth gears that separately control up-and-down (pitch) and side-to-side (roll) motions.

    Here’s the beauty of a geared head. Let’s say something’s perfectly aligned from edge to edge in the viewfinder, but is a tad low. Rotating the proper knob will raise the front of the lens without affecting the side to side tilt at all.

    Sunrise at Anhinga Trail

    By contrast, loosening the tension on a ball head allows it to move freely in any direction, and may reposition the camera in a way you don’t want. To add insult to injury, many ball heads shift by even the tiniest amount when they are locked back down. You finally get the image perfectly aligned in the viewfinder, but then it moves when you lock the ball head down. Frustrating.

    What makes the geared head so perfect for stationary subjects makes it completely worthless for moving subjects (glaciers excluded). By the time you crank the adjustment knobs to capture that bird taking off, it has migrated to another state. But you can precisely frame where it was! Continue reading

    Comfort Zones & Proper Equipment – Part One

    Thanks to Bill Lea, in February I visited Everglades National Park for the first time as one of the co-leaders of the NANPA Regional Event there. This is the first of two posts about what I learned during that trip.

    Before I saw Bill’s photographs for his forthcoming book, I hadn’t thought too seriously about shooting in the Everglades, despite how relatively close the Park is to Atlanta. It seemed like a flat, grassy, swampy area, where the big attractions are birds and critters. I don’t typically shoot birds and critters, nor flat, grassy, swampy areas. It didn’t sound like much of a destination for a landscape and travel photographer. Boy, was I ever wrong.

    Fortunately, for several days before the Event, Bill gave us an extensive (and photographically rewarding) tour of the Park, based on his five years of photographing there. I would never have figured out nor enjoyed the Everglades as quickly without Bill’s expert guidance. I found birds and critters fun and challenging to shoot (especially with my equipment), and found the landscape remarkably variable and beautifully photogenic. Now I can’t wait to go back.

    As an aside, living with Atlanta traffic, I misunderstood the concept of traveling to a park to shoot birds. During any given rush hour here, you could see so many birds shot within such a short time that it gets old pretty quick. But I get it now.

    Believe it or not, just like in many other parks, there are signs denoting elevations in the Everglades. Unlike my experiences in some of the Western parks, however, it wasn’t any harder to breathe even at the highest elevations. I felt pretty much the same at the Elevation 4 Feet sign as I had earlier at the Elevation 3 Feet sign. Guess I’ve stayed in pretty good shape.

    My first morning in the Park started with a sunrise shoot over Florida Bay at Flamingo. So far so good. I’m in my comfort zone with my lenses, geared tripod head, focusing cloth, remote release, and the rest of my usual landscape kit.

    Sunrise at Flamingo

    Sun’s fully up now, so landscape photography is done. It’s off to nearby Eco Pond to shoot birds. Hey, these bloody things move! What’s up with that? And they’re relatively small. And relatively far away. And just as soon as I compose my shot, it’s either changed or gone. There goes my comfort zone. Continue reading

    Best Smokies Workshops

    Since 2005, I have had the honor of co-teaching two photo workshops per year through the Great Smoky Mountains Institute at Tremont, or GSMIT. For the Spring workshop, I am one of four instructors, led by great friend and legendary Smokies photographer Bill Lea. (Bill is soon to be a legendary Everglades photographer, but that’s a subject for another post this weekend.)

    Bill Lea’s newly revamped website is www.billlea.com. Our other instructors (and longtime friends) are wildlife and computer wizard Todd Moore (www.naturephotog.com) and professional photographer and master printer Jeff Miller (www.mountainlens.com).

    Trillium and Falls

    The workshop is a fun, action-packed four days of talks, shooting, post-processing, and critiques. It all starts with a presentation about the Fundamentals of Photography in the Field by yours truly at 3:00 pm on Friday, April 20, 2012. It ends Monday, April 23, 2012, at 12:30 pm after a couple presentations by me on post-processing and on the challenges of landscape photography. (Don’t worry; I’m pretty quiet in between those. Well, not officially talking, at least!)

    Bill will be presenting programs on Light (Friday night), Close-up Photography (Saturday afternoon), and Wildlife Photography (Sunday morning). Wow, sounds like a lot of presentations. It is, but wait, there’s more! Lots more.

    During the workshop, we spend even more time out shooting in the field than we do inside for presentations. We are out before sunrise on Saturday and Sunday, with breakfast in the field. (How’s that for service!?!) We’re also out in the afternoon and evening until after the sun goes down both Saturday and Sunday, again with our meals in the field.

    Spring Greens at Foothills

    In the time between shooting sessions and talks (I told you it was action-packed), we help with your downloading and post-processing needs. We’ll help you select three images to submit for the critique Sunday afternoon before our final organized field session. For many participants, this group critique is the highlight of the weekend. Afterward, we go right back into the field to apply what we’ve covered in the critiques.

    Before the presentations Monday morning, there are several choices for sunrise field trips. This gives you yet another chance to capture sunrise at a location of your choice. By the time the light is too harsh for good photography later in the morning, it will be time for the last two talks and discussions.

    Spring Green Tree, Cades, Cove

    We usually have quite a few returning participants every time. And that’s not because they flunked and had to retake the course! It’s because it is so much fun, and they can see improvements in their photography each time.

    For more information, or to register, please check out: http://www.gsmit.org/springphoto.html

    Please feel free to e-mail me if you have any questions or would like more information. I hope to see you there!

    Using a Focusing Cloth

    At a workshop in Redwood National and State Parks back in 2003, Jack Dykinga gave me one of the best pieces of advice I’ve ever received for getting better images in the field: Use a focusing cloth. It was simple, had been around just about as long as photography itself, yet was rarely used by anyone but large format shooters. I adopted it back then for use with my DSLR, and have been using it ever since. For me, it has become as essential as my tripod and cable release.

    It helps me compose and focus, both physically and mentally. With it, I can easily see anything on my LCD, regardless of the ambient light. It helps keep wind, sprinkles, and even flying bugs out of my eyes while I’m shooting, helping me concentrate on my subject. With it, it’s much easier for me to check the corners and edges of my frame, and to look for merges throughout the image. It even allows me to use the Depth of Field preview function, regardless of how dark the image becomes when I push the button!

    It’s become so important to me, that I bring a spare when I travel in case something happens to the first one in the field. And as a final bonus, many of my shooting buddies have encouraged me to use it all the time—even when I’m not shooting. They say it’s a fantastic fashion accessory that looks great over me.

    My original focusing cloth, also known as a dark cloth, was a 36″x48″ Toyo-View focusing cloth that I got from B&H. After using it for a few years, I wanted something waterproof, breathable, darker, and more versatile. Besides, B&H no longer carried the Toyo-View cloth. After six months of testing various combinations of fabrics and Velcro placements, I now use my own Tom Vadnais Photography 36″x48″ waterproof focusing cloth. It’s an improved design that’s handmade right here in the USA, and is available only from me. Please e-mail me at tom@tomvadnais.com if you’re interested in ordering one directly (US$84 + US$5 shipping and handling to a US address). It’s black on the inside, to give you a dark area to shoot from, and white on the outside to reflect heat. There are strips of Velcro on both sides of one end that cinch the cloth around your lens, making it fast and easy to attach and remove when changing lenses in the field.

    Focusing Cloth in the Field

    After wrapping one end around your lens, the rest of the cloth simply drapes over your camera, your head and shoulders, and partially down your back. This eliminates most of the stray light around you, allowing you to see much better through your viewfinder. You can’t believe how much easier it is to concentrate on your composition and focusing when surrounded by relative darkness. It also allows you to see everything on your LCD, even in the brightest sunlight.

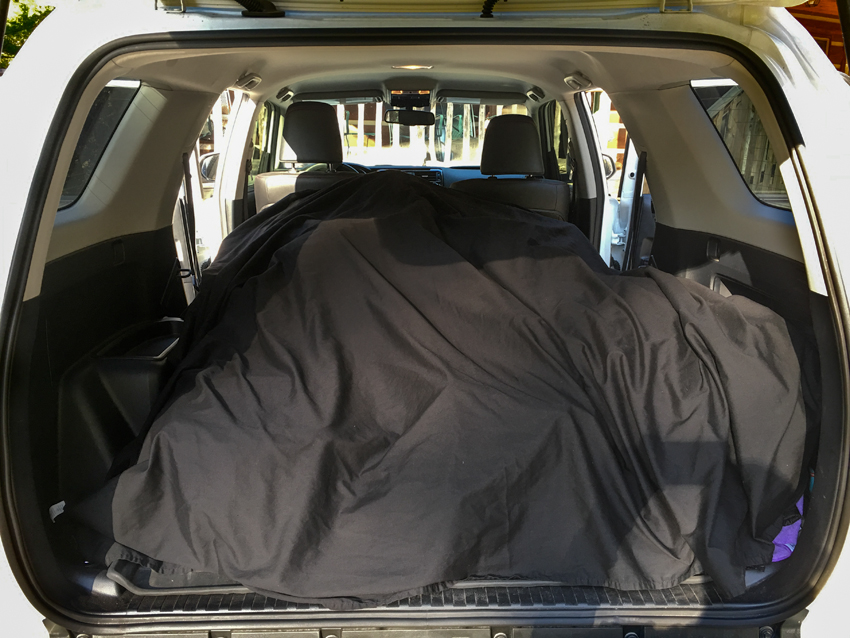
    As you can see from the photograph below, it can also help you blend in with any ghosts you may encounter when out shooting.

    Focusing Cloth and Ghost

    Now, do you have to spend US$84 on a commercially available waterproof dark cloth with Velcro. Of course you do—-if it’s one from me! Not really. A US$5 black bath towel from a discount store works just fine. You can drape the towel over your lens, camera, and head, as my friend Sue is doing during a workshop in the Smokies. (Her towel is dark blue, but is still effective. In general, though, you want a black cloth or towel, so you don’t have any visual color contamination while you’re shooting under it.)

    Sue with Dark Towel

    Like any other new tool in photography, using a dark cloth takes a little getting used to at first. Think back to when you first used a tripod, remote release, or any filters. But almost right away, you’ll likely find the benefits so outweigh any learning curve that you’ll adopt it full time. I did.
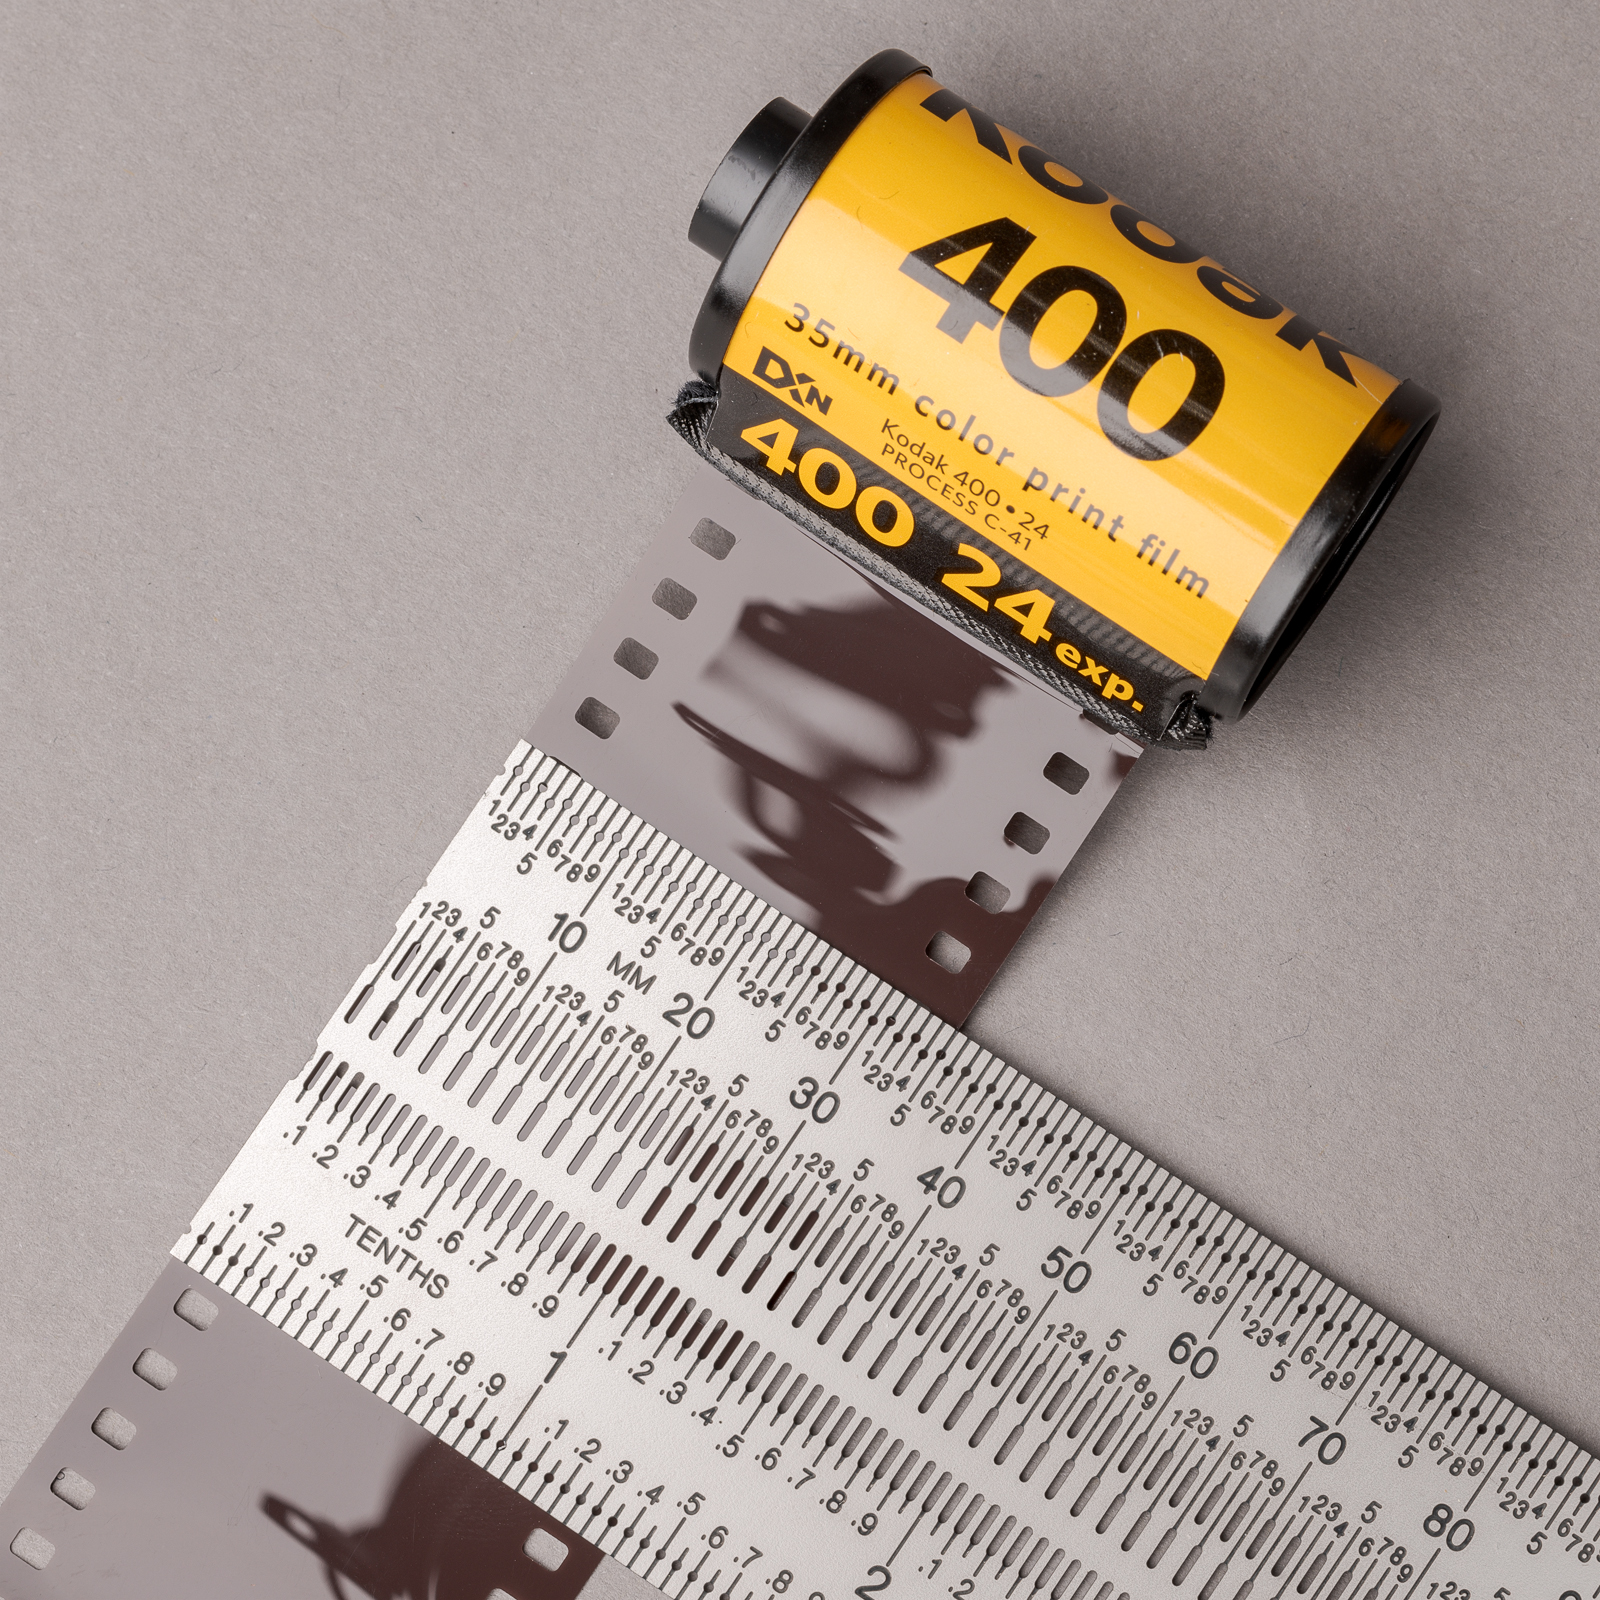