Category Archives: Gear

Why Full Frame DSLRs Are Called 35 mm

“Full frame” DSLRs have the same image size as the most popular film size, which was called 35 mm. Where does “35 mm” come from? The image frame size is 24 mm x 36 mm, so it’s not that. Its diagonal is 43.3 mm, so it’s not that, either. Come to find out, 35 mm is the width of the film strip to the outside of the sprocket holes, as shown in this photograph.
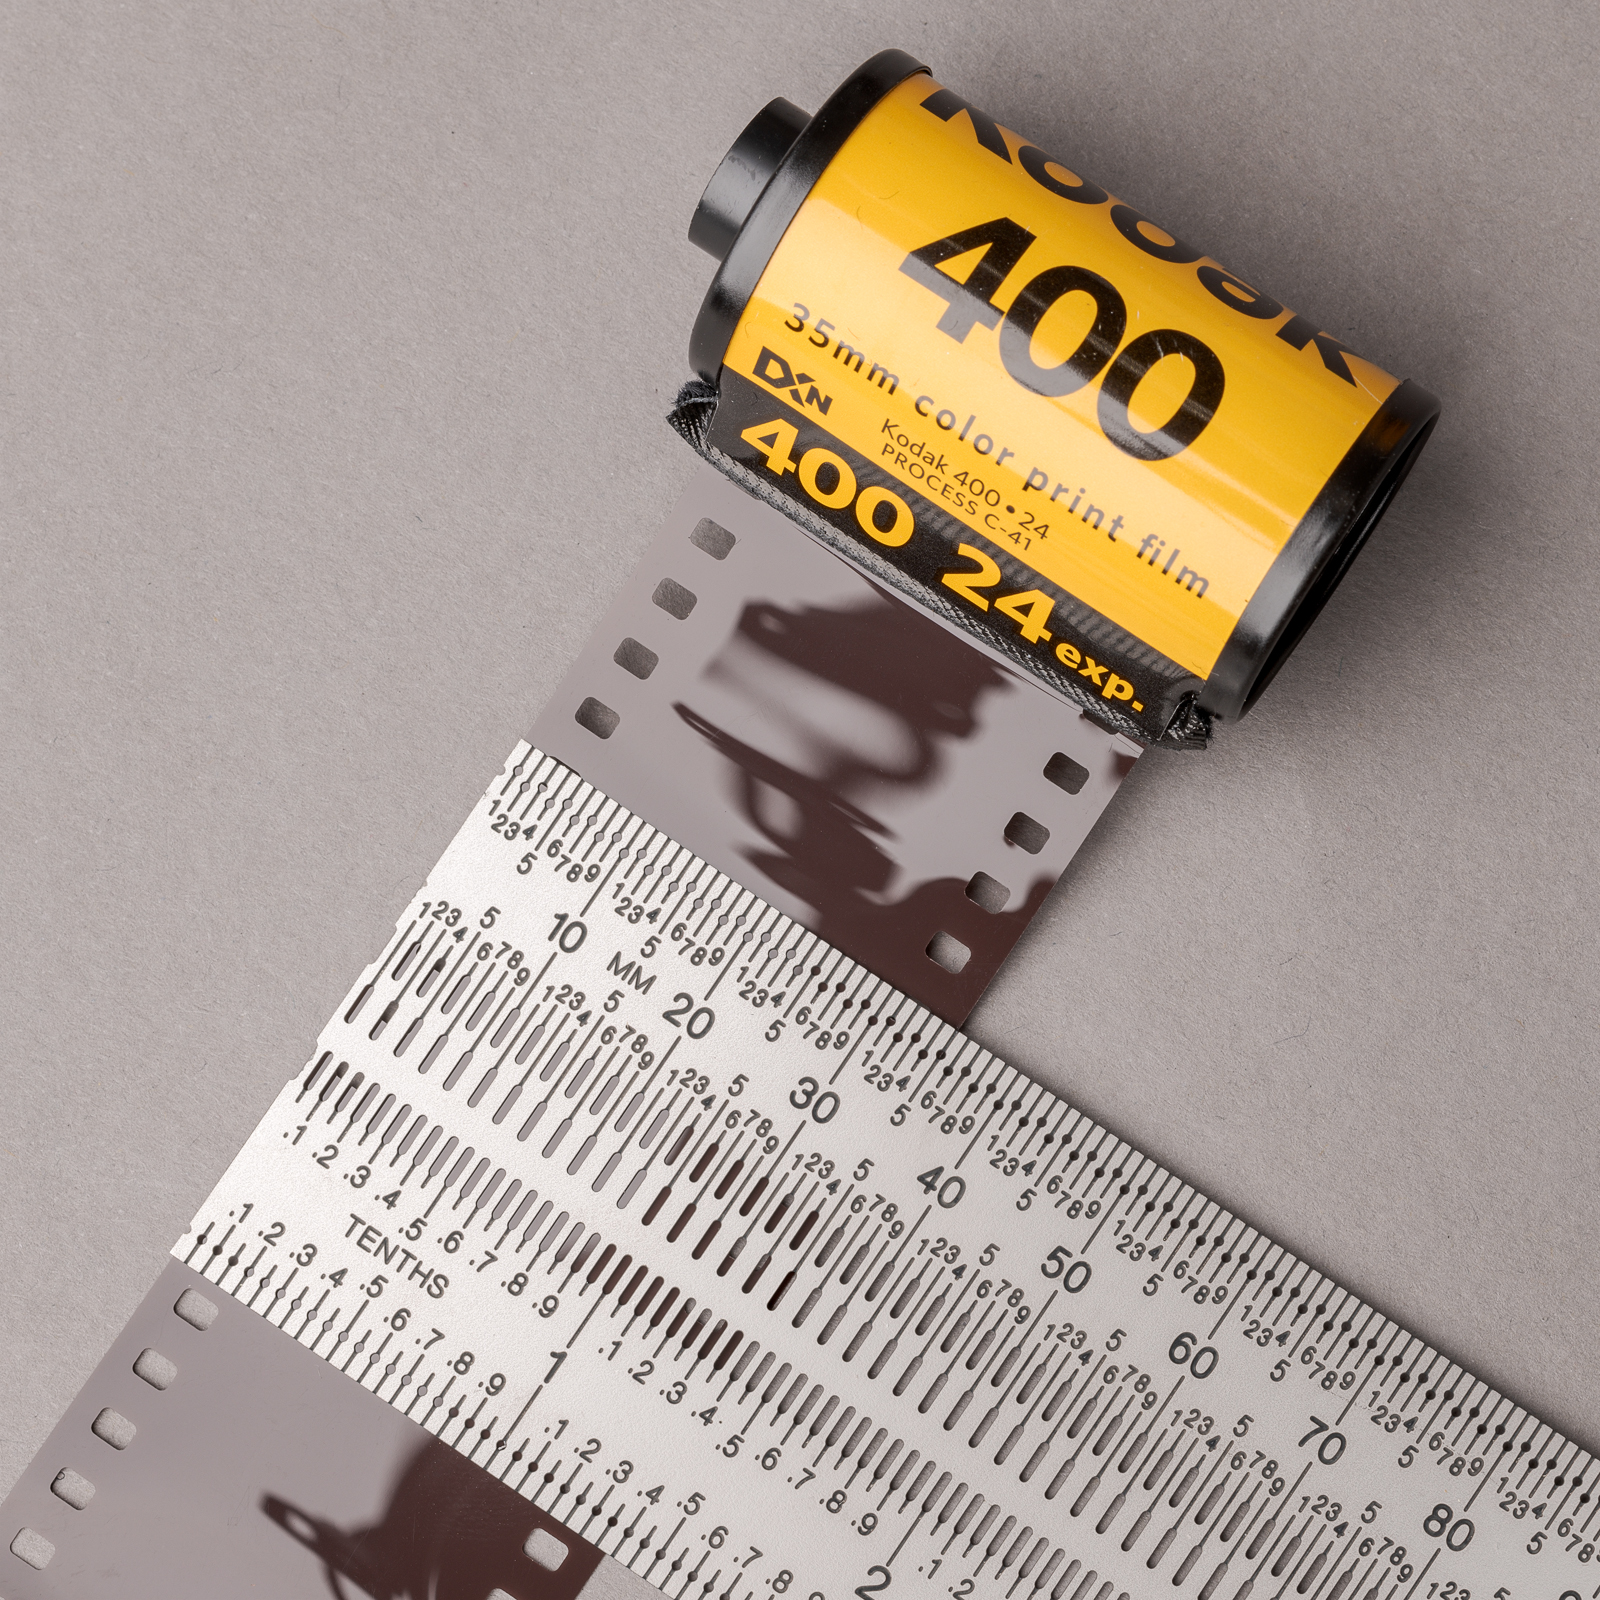
Since all lenses and image sizes are the same between 35 mm film and full frame DSLR cameras, the 35 mm equivalent name is used for full frame DSLRs, even though nothing measures 35 mm in their image frames.

While the “35 mm” designation has no direct relevance to the digital sensor size, it is still useful when referring to the focal length of lens. The diagonal, horizontal, and vertical angles of view of a given lens are the same with a full-frame digital sensor as they are on a 35 mm film camera. For example, the ZEISS Milvus 50 mm f/2 macro lens has a horizontal angle of view of 38 degrees on a full-frame digital sensor just as it does on a 35 mm film camera. The cropped sensor equivalent values will be the subject of another post.

©2018 Tom Vadnais Photography. All Rights Reserved.

ZEISS Milvus 15 mm, 18 mm, 21 mm, and 25 mm Lenses

ZEISS makes four ultra-wide Milvus lenses: 2.8/15 mm, 2.8/18 mm, 2.8/21 mm, and 1.4/25 mm. Can there be an appreciable difference with only a three or four millimeter focal length change between lenses? After all, if you have a 100-400 mm zoom lens, you probably couldn’t even notice the difference between 344 and 348 mm focal lengths. But you’ll see that just a couple millimeters makes quite a difference with very wide angle lenses.

I made this series of photographs on a sunny day with very contrasty light to show how the four lenses handle very difficult lighting conditions. Polarizing filters somewhat tempered the extreme contrasts. I used Heliopan High-Transmission polarizers for the 18, 21, and 25 mm lenses, and a ZEISS polarizer for the 15 mm lens. Before I made these JPEGs from the raw images, I reduced highlights by 30 in Adobe Camera Raw (ACR) to make sure the clouds wouldn’t blow out when converted. Otherwise, these raw images were straight from the camera. All were made at f/8 on a full-frame Nikon D850 DSLR.

Note how much more of the trees you can see at both edges of the frame with the wider lenses. Also, notice how City Hall seems to shrink and recede as the lenses get wider.

Roswell, GA, City Hall (ZEISS Milvus 1.4/25 mm lens on Nikon D850.)

Roswell, GA, City Hall (ZEISS Milvus 2.8/21 mm lens on Nikon D850.)

Roswell, GA, City Hall (ZEISS Milvus 2.8/18 mm lens on Nikon D850.)

Roswell, GA, City Hall (ZEISS Milvus 2.8/15 mm lens on Nikon D850.)

Here are the diagonal/horizontal/vertical angles of view for these four lenses:

2.8/15  110°/100°/76°

2.8/18  100°/89°/67°

2.8/21  90°/81°/59°

1.4/25  81°/71°/50°

Comparing the chart to the photographs shows that for extreme wide angle lenses, the field of view changes noticeably for every 10° diagonal angle of view. So how do you decide which lens(es) to get?

All four lenses are spectacularly sharp, and all exhibit the famous ZEISS micro-contrast and consistent color. They also all show little distortion with the appropriate Lens Correction selection in ACR. (Note: most recent DSLRs have in-camera lens corrections for JPEGs. Raw image lens corrections are handled in raw conversion software, such as ACR and Lightroom.)

As you can see, the wider the lens, the larger the foreground and the smaller the subject become. (Of course this is true regardless of the brand of the lenses.) Look at how much more of the trees at either edge of the image are visible with wider focal lengths. But even though there are significant differences in the images, unless you do a lot of very wide angle shooting (think architecture and interiors), it is unlikely you’ll need all four of these lenses.

If you primarily shoot landscapes, including Milky Way photos at night, you might find the 15 and 21 mm lenses the best combination. For large scale and intimate landscapes, the 18 and 25 mm lens pair might be most useful. If you’re just venturing into wide-angle shooting, the 25 mm lens will likely be the most versatile. It’s also one of the sharpest and most desirable lenses ever made. It’s one you’ll keep for a lifetime.

As always, it is best to try these out for yourselves. I highly recommend renting them individually or in groups before purchasing any of them.

©2018 Tom Vadnais Photography. All Rights Reserved.

Nikon D850 Complete Guide by Thom Hogan

If you own, or are thinking of buying, a Nikon D850, you owe it to yourself to get a copy of Thom Hogan’s Complete Guide to the Nikon D850: Thom Hogan D850 Complete Guide I have bought Thom’s Complete Guide for every Nikon camera I have bought since my first D1x.
In his Complete Guides, Thom not only describes the myriad features of the camera bodies, but he suggests when and how to use each one, depending on the kind of photography you do. Want to know if Auto White Balance is a good choice for images made in incandescent light? Want to know which of the forty bracketing options might be useful under different lighting conditions? How about which autofocusing mode works best for your situation? And why? You’ll find suggested answers to these in this e-book.

It’s 1,081 pages, so it’s not something you’ll digest over lunch. But you’ll find you refer to it as long as you own your D850.

Highly Recommended.

Nikon D850 Review by Steve Perry

Without question, the Nikon D850 is the best camera I’ve ever owned. I love everything from how it handles to its astoundingly detailed image files. Even if you’ve read about it elsewhere online, you owe it to yourself to check out Steve Perry’s video and written reviews: Steve Perry’s Nikon D850 Review.

Steve is an amazing wildlife and bird photographer with real-world experiences using most current Nikon DSLRs. From his experiences shooting tens of thousands of frames with multiple cameras in numerous photo shoots, Steve gives unvarnished, hands-on insights into the pluses and minuses of each camera.

While you’re on his website, if you’re a Nikon shooter, you owe it to yourself to get his Nikon autofocus book. It’s invaluable. You’ll understand how all the modes work, and when best to use them: Secrets to Nikon Autofocus System.

Regardless of what camera system you use, any wildlife or bird shooter will greatly benefit from his Secrets to Stunning Wildlife Photography book: Secrets to Stunning Wildlife Photography. I don’t do much wildlife or bird photography myself, but I enjoyed and learned a lot from his book. After reading it, I’ve referred back to it a number of times for specific refreshers.

Steve’s blog posts and videos are well done, to the point, and chock full of information. Both books are well-written, immediately useful, and filled with wonderful images. Check it all out!

ZEISS Milvus 1.4/25 mm and ZEISS Otus 1.4/28 mm Lenses

As mentioned on my Gear page, I almost exclusively use ZEISS manual focus prime lenses. I’m sold on their consistent color, sharpness, micro-contrast, and precise manual focusing ability. But before buying any new lens, I’ve gotten in the habit of renting one from LensRentals www.lensrentals.com. I can’t recommend the practice of renting before buying, and of renting from LensRentals highly enough.

For a recent trip to the Smokies, I rented a ZEISS Otus 28mm f/1.4 Apo Planar T* lens. I already own, and love, the ZEISS Otus 55mm and Otus 85mm (my favorite) lenses, and figured I’d love the 28mm Otus, too. Sure enough, it was the most amazing wide angle lens I’ve ever used. It was bitingly sharp corner-to-corner, with negligible aberrations or distortion. Even stars in the corners of night sky shots showed almost no coma. Silky smooth, beautiful, and incredible. I hated to return it, but still was not sure that I would find the 28mm focal length particularly useful—especially considering the price and the giant size of the lens.

With ZEISS’s recent announcement of the new Milvus 25mm f/1.4 lens, I decided to wait to try it before deciding on a new wide angle lens. I already own the ZEISS 25mm f/2 Distagon T* lens, which I regularly use for my engineering work. It’s wonderfully small and light, and perfect for my work kit. It’s quite sharp across much of the image, yet is just a little soft around the very edges and corners.The 28mm Otus proved that a wide angle lens can be sharp from corner-to-corner, with negligible distortion. But I wished it was just a little wider.

Before my return trip to the Smokies a couple weeks later, I noticed that LensRentals had the brand new 25mm f/1.4 Milvus lens available to rent. After nine days of shooting with it, all I can say is it was magnificent. It’s near-Otus quality for about half the price, in a smaller package with a smaller filter size, and less weight—plus it has weather sealing the Otus lenses lack. I absolutely loved it. I was only a little sad to send it back, though, because I put my name on the list at B&H to buy my own copy once they become available.

On my way home from the Smokies, I stopped by a long-abandoned motel near the GA/TN state line. I then parked my Toyota 4Runner TRD Pro at one end of the motel, and made the image above with the rented ZEISS Milvus 25mm f/1.4 lens on my Nikon D850.

Abandoned motel with 4Runner. (ZEISS Milvus 25mm f/1.4 on Nikon D850.)

It’s a single frame, with some of the top, a little of the bottom, and a tiny sliver of the right side cropped off. There was no cropping of the left side. Because the lens was so new, there was no lens profile available in Adobe Camera Raw, so what you’re seeing is how sharp and distortion-free this lens is right out of the box. Neither the bricks at the left nor my 4Runner at the right are distorted.

Images from my field testing were all incredibly sharp edge-to-edge and corner-to-corner. The lens was easy to focus and a joy to use. Can’t wait to get my copy.

A Dark Cover-up

When I travel for a work or a personal photography trip, I either drive my 4Runner TRD Pro or rent an SUV so I can easily access my gear in the field. Years ago, my friend and mentor Bruce Dale suggested a cheap, easy way to keep prying eyes from cargo and luggage in the back. It’s a black flat bed sheet. I bought two of them at Walmart; one for my 4Runner and one to keep packed in my travel bag. They’ve become the black sheets of my family. (Sorry, couldn’t resist.)

Black Sheet Over Gear

Black Sheet Over Gear

If I’m going to be hiking any distance when I get to my shooting location, I try not to keep valuables in my vehicle, if possible. But I’ll still cover extra jackets, water, snacks, or empty camera bags or luggage. I find the black sheet most useful when going to and from my shooting location, the airport, meals, the hotel, and when stopping at any store or gas station. It’s cheap, simple deterrence. I even use it day-to-day when I’m at home.

Apple Does It Again

In an earlier post, I lauded an experience I had while contacting Apple. Well, it’s happened again.

Except for a brief flirtation with a MacBook Pro in 2003, I’ve strictly been a PC user until 2013, when I bought my second MacBook Pro. This time I’ve kept if for more than a few weeks. In fact, it’s been the only laptop I’ve used since I bought it. And I love it. Although my desktop computer is still a Window-based PC, I permanently retired my PC laptop I was using at the time.

Back when I bought my current MacBook Pro, I also bought the Parallels app to be able to run Windows alongside Mac OS X. I had no idea what I was doing when I first got the machine, and apparently either corrupted or maybe even deleted at least part of Parallels. Over the past couple years, I’ve tried to revive it on my own, but with no luck. Since I had configured my Mac with versions of the apps I used most often, it was never a real problem.

Recently, I’ve been wanting to do more writing on my Mac, but really missed using WordPerfect like I do on my PC desktop. A couple weeks ago, I decided I finally going to figure out how to get Parallels working, and install Windows 10 and WordPerfect on my Mac. (Yes, WordPerfect still exists, and is as great as ever. I’ve been using it since the DOS days. It just keeps getting better.) Continue reading

Thom Hogan’s Nikon Complete Guides

Late summer 2001, I swapped my beloved Nikon F5 film camera for a Nikon D1x. While I had been dabbling in digital using a Nikon Coolpix 990 compact digital camera, the D1x was my first digital SLR. I had been keeping up with the Nikon DSLR developments through Thom Hogan’s website, and decided it was time to make the switch.

Of course, the fundamentals of using a camera (aperture, shutter speed, focusing, etc.) were the same between film and digital. But digital brought so many other tools and techniques to learn (white balance, instant review, histograms, blinking highlight warnings, etc.), I decided to take a workshop with Thom so I could start to master using a DSLR. It was a wise choice, as I came away from that workshop with a good working knowledge of my new camera.

Well, Thom didn’t stop with workshops. Since the earliest days of Nikon DSLRs, Thom has written a series of incomparable users manuals, which he justly calls “Complete Guides”. I download the fully searchable PDF e-books, then read them (and refer to them) on my iPad. They thoroughly explain every button, switch, wheel, and menu item in unsurpassed detail. If that’s all they did, they would be worth the read.

But they do much more. Thom suggests specific settings, and recommends against others, based on his long-time real-world use of the cameras. But, again, he does even more than that. For each recommendation, Thom discusses how and why those settings will affect your photography. These discussions allow you to understand what each function or setting does, why it does it, and how you can best use it. If you own a Nikon DSLR, whether FX or DX, I cannot recommend Thom’s guides highly enough.

  • Even though I’ve been shooting with a pair of Nikon D810’s for over a year (and with a fairly similar D800E before that), I’ve been looking forward to his D810 book all along. Well, it’s now here. Even if you’re an experienced Nikon owner, if you own a D810 (or any other Nikon DSLR), you owe it to yourself to buy and read Thom’s Guides.

    ThomHoganNikonD810ManualCover

    Here’s a link to his D810/D810A Guide: http://www.dslrbodies.com/books/bythom-complete-guides-/nikon-d810-guide.html. Any of his guides can be accessed with the link to his home page: http://www.bythom.com/.

    ©2015 Tom Vadnais Photography

  • Amazing Service from Apple

    This isn’t strictly photography-related, but can be for anyone using any Apple product. All customer service should be like this!

    The weekend before this past one, I upgraded to an iPhone 6. While I was in the AT&T store, I had to log into my iTunes account with my Apple ID in order to get the phone activated. When I went to do that, I was told (well, on the screen) that I had to change my Apple ID to an email address. My Apple ID had always been a series of letters, but not an email address.

    I changed it as requested, and it worked great in the store.

    When I got home, I tried to get all my apps on my new phone through iTunes. The apps copied over just fine, but I couldn’t use the ones I had bought, and none of them would update. I kept getting an error message that they were bought using a different Apple ID, so were not authorized on this phone. I checked all settings, and tried several things, but to no avail.

    After searching the Apple site for a solution, I sent a message via their site stating my problem. Within a second of clicking Send, my phone rang. It was Apple. I was shocked it was even possible for the call to have been made so quickly. The message said they had received a request for help, but there might be a delay on the phone due to call volume. Yet within a minute, I was talking to a live person! He checked a couple things, then said I would need to talk to a specialist. He said they were quite busy at night (and this was a Sunday night); it would likely be at least 45 minutes on hold. Mornings are always better. Could they call me at 8:45 in the morning? I was impressed, but still skeptical. Continue reading

    Digital Camera Sensor Resolution and Print Sizes

    After a presentation to the 4th annual Western North Carolina Foto Fest in Montreat, NC, in September 2013, a couple participants asked me to post my two slides showing the resolutions of digital camera sensors, and effect of resolution on print sizes.

    The first slide is reproduced here:

    Typical Image Sizes in Pixels

    Typical Image Sizes in Pixels

    As you can see, a 1.0 megapixel (mp) camera has more resolution than the old NTSC television and more than most PC displays used to have. You might be surprised that a 3.0 mp sensor has more resolution than HDTV! Even more shocking, perhaps, is that the incredible iPad with Retina display has a resolution of 2048×1536 pixels—-exactly what you could capture with a 3.0 mp camera.

    So what in the world do we need a 12 mp or 24 mp, or goodness knows, a 36 mp sensor for? That’s where the second slide comes in:

    Print Sizes at 240 dpi

    Print Sizes at 240 dpi

    This chart shows the native print sizes you can make at 240 dpi from the various digital camera sensor resolutions. (Note: I’m not suggesting that you always print at 240 dpi, but that resolution was chosen as a constant to make a comparison. Selecting the appropriate print resolution is a topic unto itself.) Continue reading