(Note: Part One is just below this post.)
When we left off, I discovered I didn’t have the right lenses nor the right techniques for capturing birds and critters. But that’s not the end of the story. Hence, Part Two.
As I briefly mentioned in Part One, I also quickly discovered a geared tripod head can be next to worthless for moving subjects. My usual head is an Arca-Swiss C1 Cube, which I absolutely love. Its extreme precision results from its fine-tooth gears that separately control up-and-down (pitch) and side-to-side (roll) motions.
Here’s the beauty of a geared head. Let’s say something’s perfectly aligned from edge to edge in the viewfinder, but is a tad low. Rotating the proper knob will raise the front of the lens without affecting the side to side tilt at all.
By contrast, loosening the tension on a ball head allows it to move freely in any direction, and may reposition the camera in a way you don’t want. To add insult to injury, many ball heads shift by even the tiniest amount when they are locked back down. You finally get the image perfectly aligned in the viewfinder, but then it moves when you lock the ball head down. Frustrating.
What makes the geared head so perfect for stationary subjects makes it completely worthless for moving subjects (glaciers excluded). By the time you crank the adjustment knobs to capture that bird taking off, it has migrated to another state. But you can precisely frame where it was!
By the way, resting at home was my Really Right Stuff BH-55 ball head, which would have been perfect for birds and critters. Next time.
Fortunately, I had recently bought another Arca-Swiss geared head—the new d4. And more good fortune: I had it with me. Unlike the Cube, the d4 has two tensioning knobs that could be loosened enough that the gears were essentially free-wheeling. With the base rotation knob and both tensioning knobs loosened, the head could be used when tracking moving subjects while still giving some support. Hallelujah. But unlike with a gimbal head, just don’t let go of the camera!
For landscape and travel photography, I always use a remote shutter release cable. This appendage actually got in the way when trying to track moving creatures. It was much easier to use the camera’s shutter button while moving the camera around following the motion of the birds, alligators, and crocodiles.
I was also the only one I saw that week using a focusing cloth. I can see why bird and critter photographers don’t use one. It’s hard to see what’s going on outside of the viewfinder. This isn’t a problem with landscape photography, but can be a detriment when trying to keep track of a bunch of moving subjects. Also, I don’t imagine birds are comfortable with a big white blob looking at them with one big eye. It’s kind of the reverse of camouflage. Hey, maybe if I had a camo cloth….
Besides the camera body, two standard pieces of gear worked just as well for landscape or for bird photography. Those were my Gitzo GT1341XLS tripod and my Think Tank modular belt system. (More about the latter in a future post.)
So at a minimum, there are camera, lens, flash, remote cable, focusing cloth, and tripod head considerations if you are planning a trip to shoot both landscape and birds or wildlife. What’s a photographer to do?
One of the participants in the NANPA Regional Event solved part of this by renting a 300mm f/2.8 lens and a 2x teleconverter, along with a Wimberly gimbal head. Renting is a great way to learn about gear first-hand. Can you capture the shots you want? Are the images sharp and contrasty? Is it easy to use in the field? Can you realistically travel with it, and carry it in the field? Do you think you would use it enough to buy it?
(By the way, at the end of the Event, she told me she was going to buy everything she rented.)
If you’re pretty sure you’ll use a certain expensive piece of gear enough to own it, but don’t want to spend the money, don’t hesitate to buy a used one—especially a recently discontinued version. There are many camera owners (as opposed to you real photographers) who insist on owning the latest and greatest, despite hardly even having taken a picture with their previous equipment. This hold true for lenses, camera bodies, tripods, and about anything else. Try your local camera store or a on-line source like KEH (www.keh.com). KEH has a 30-day return policy in case it doesn’t work or isn’t in the condition as described.
Despite still being nature photography, the equipment and skill sets required to shoot birds and wildlife are surprisingly different than for landscapes. You might expect that wedding, photojournalist, sports, studio, or commercial photographers would need different equipment than nature photographers do. But depending on your intended subject, even nature photographers need to think carefully about what they will need for their intended subjects.
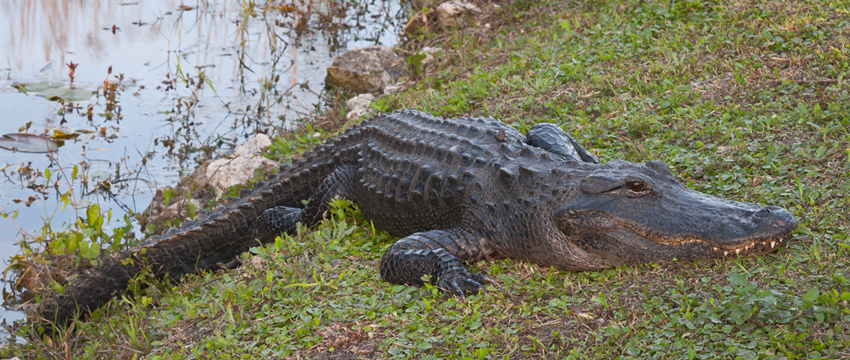
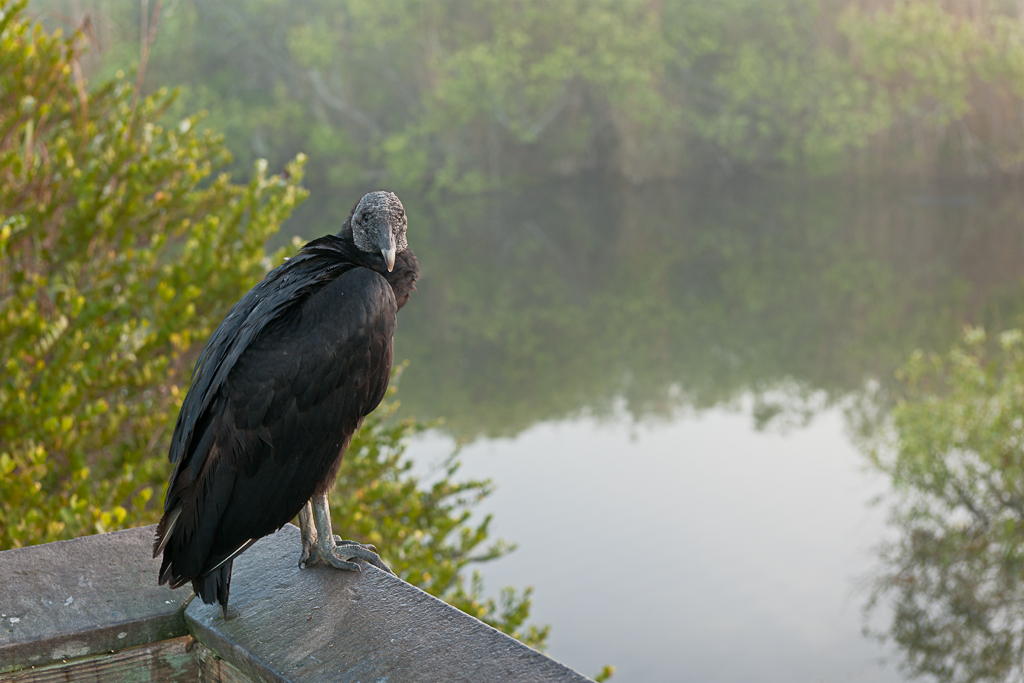
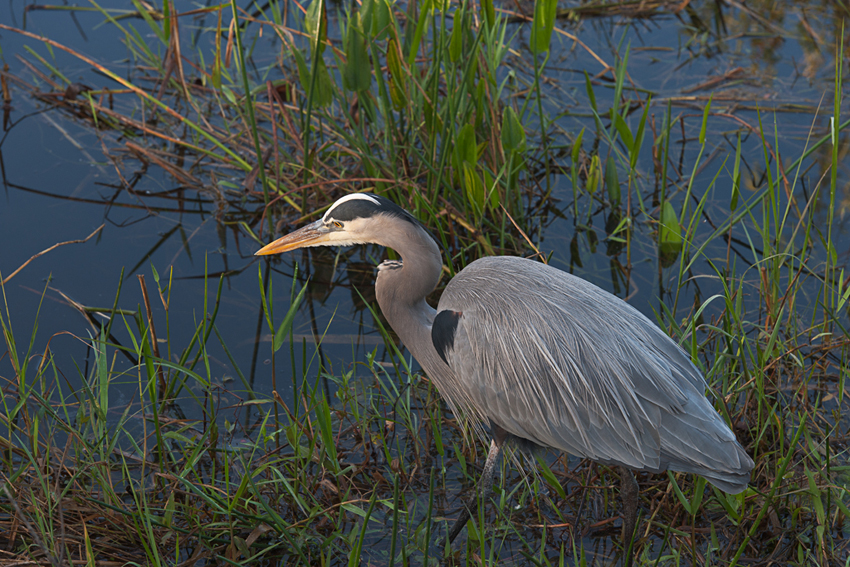
Fortunately, birds and critters were relatively close in the Everglades, especially along Anhinga Trail. So my paucity of long glass was not the handicap it could have been. Sure, there were plenty of times I wished I had longer lenses, but it is possible to successfully capture birds, alligators, and crocodiles in the Everglades with shorter, slower glass. Most nature and landscape photographers probably already own much of the rest of the gear needed to capture birds, wildlife, and landscape images. The secrets are in applying the proper techniques for the equipment you have.
Next time I go to the Everglades, and I can hardly wait to go back, I will rent a Nikon 200-400mm f/4 lens, and bring my RRS BH-55 ball head. I’ve also ordered a 2x teleconverter to go with it. Those birds won’t stand a chance.


Looks like you had a great time in spite of equipment issues Tom. Can’t wait to hear more about your trip at the workshop next weekend. See ya soon!
Remember the 2x converter will loose 2 stops of light loss and with an f/4 lens, that is quit of bit of loss. See you next weekend also…