Category Archives: Photography Fundamentals

Why I Use Manual Exposure Mode

Choice of exposure mode always seems to generate a spirited discussion among photographers. Here’s my 2¢ about it. Actually, it’s a long post (probably more like 4 or 5¢), so you might want to grab your favorite beverage before settling down in the warm glow of your monitor.

If you’re serious about your photography, you’ll need to use Program, Aperture Priority, Shutter Priority, or Manual exposure mode. Neither a fully Automatic mode nor any of the “Scene” modes found on many DSLRs allows you to override what the camera chooses for you.

A camera’s meter is designed to determine the exposure that renders the scene as a mid-tone. But the actual scene may require a darker or lighter exposure than that.

As with any other element of your photography, the correct exposure for a particular image is the one that shows the scene as you intended. This might be, and often is, different from what the camera meter indicates.

Shutter Priority, Aperture Priority, and Program are known as automatic modes because the camera automatically sets the aperture, shutter speed, or both, respectively, based on the camera’s meter reading. In Manual mode, you set both the aperture and shutter speed, using the camera’s meter as a starting point.

You can successfully use any of these modes (why else would they be there?), but it’s worth finding one or more you are most comfortable with. I exclusively use Manual mode. I find it the easiest and most consistent for the kinds of photography I do. But I hope this discussion helps you choose the one that works best for you.

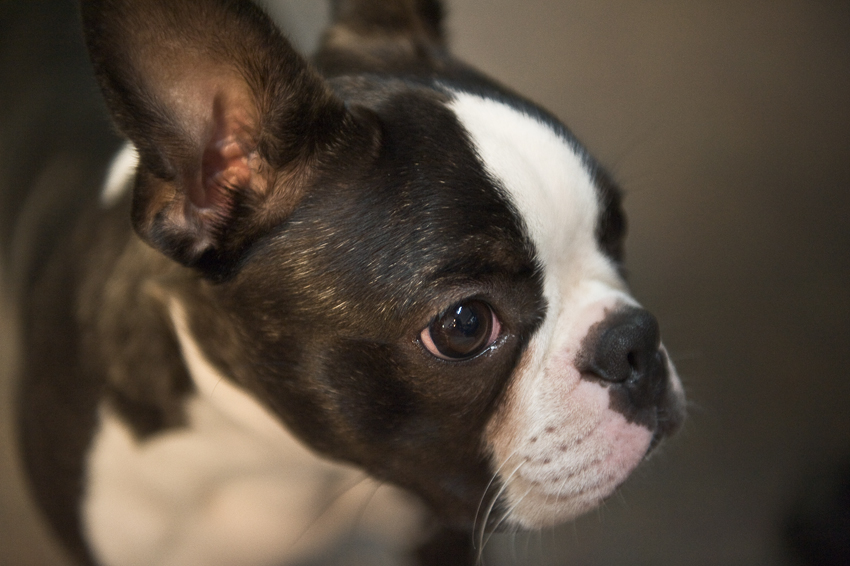
Fredo in Office

By the way, this image has nothing to do with this article. But a picture of my best furry friend Fredo sure makes this a much more attractive post, doesn’t it? Continue reading

It’s Okay to Crop – Sometimes

I can hear several of my friends laughing even before reading the rest of this. After years of my staunch (they might say unreasonably stubborn) aversion to cropping, they’ve prodded me to realize that the camera’s default image shape doesn’t always result in the best image.

It’s still my preference to get everything just the way I want it in the camera, especially with landscape images. But now, I’ve come to appreciate the benefits of the occasional crop.

Sometimes, you have to crop to fit certain requirements for a website, client, contest, or publication. (Heck, even my header image on this site is cropped from a full frame.) Other times, a judicious crop just suits the image better than the camera’s default shape does.

Now this is not a license to “shoot loose, and crop later”! That’s lazy, sloppy, reduces the resolution of your images, and is bad practice.

Here’s an example of when cropping worked better than the default image shape. When she was a little puppy, my BFFFF (Best Furry Friend Forever, Fredo) came by my office for a visit. Well she didn’t come by on her own; her Mom brought her over.

Fredo Singing (full frame). Click on image to enlarge.

She was sitting in one of the conference room chairs while I was taking pictures of her. She was being so tolerant, it was time to reward her with another treat. I loved the expression on her face in this picture as she anticipated the treat. It looked like she was singing.

But as a rectangle, the photograph was cluttered and distracting. I knew a square crop would eliminate the distractions, focus the attention on Fredo, and makes it look more like she’s singing. I framed the image so there would be enough room around her so I could crop it square, yet still retain a sense of place by including recognizable portions of the chair and table. I also placed her to the left side in case the rectangular shape worked as well. It didn’t.

Fredo Singing (square crop). Click on image to enlarge.

One of my main influences for thinking in terms of the square image is my friend and mentor Charlie Waite. For most of his professional career, he made landscape images using a Hasselblad film camera, which yielded a square image. A square format image often tells a significantly different story than a rectangular one.

What I’ve learned is that cropping an image to improve its composition doesn’t necessarily mean the image was not composed well when the shutter was clicked. Sometimes, it’s just what you need to tell your story in the best way.

Maybe it’s just that a puppy taught an old dog new tricks.


Photograph Where You Live

As you know, it is essential to travel long distances, preferably to exotic locations, if you want to make interesting images.

Wait, maybe that isn’t really so.

No matter where you live, there are incredible shooting opportunities all around you. Continual shooting is one of the best ways for you to develop your photographic eye. (Reading photography resources and studying photographs and paintings by masters are two other important aides.)

Roswell Road Bridge. Click on image to enlarge.

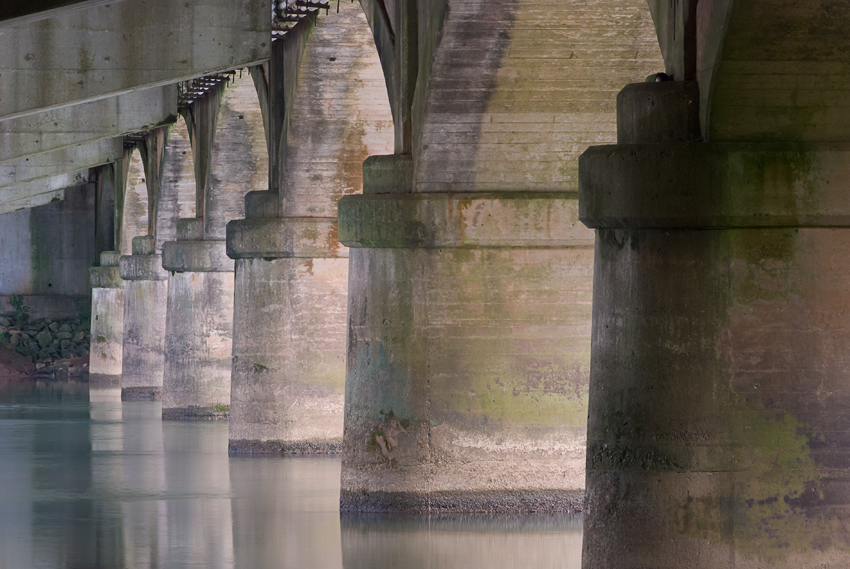
This image was made less than two miles from my house. I had driven over this bridge thousands of times before without ever noticing anything special about it.

One day, a friend and I decided to go out shooting, so we grabbed our cameras and tripods, and walked along a paved trail along the river. The path led under this all-too-familiar bridge. It was late afternoon, and the sun was starting to go down to the right in the image.

Our intention was to go past the bridge to another spot along the river edge. We never made it. We spent the next hour or so shooting various compositions, including horizontal (landscape) and vertical (portrait) orientations.

Then I turned around, and saw a totally different view. Sun was pouring through the drainage slot on the bridge, and illuminating a pile of rocks below. When I saw that light beam, I knew I was going to process it as a black & white image later.

Roswell Bridge B&W. Click on image to enlarge.

So in an hour, two miles from my house, under a bridge I had crossed thousands of times, I made two images that I liked. Funny thing is when I show them to people, and ask them to guess where there were made, I usually get somewhere in Spain or France as the reply. Of course, I always tell them they guessed right!

Not really. To me, the real story is even more surprising.

As examples of local things to shoot, my Five Mile Radius gallery has a number of images I’ve made within a five mile radius (as you might have guessed) of my house. I hope those images encourage you to get out with your camera and tripod, and explore where you live. Sort of like a traveling photographer who thinks your location is an exotic trip might do…